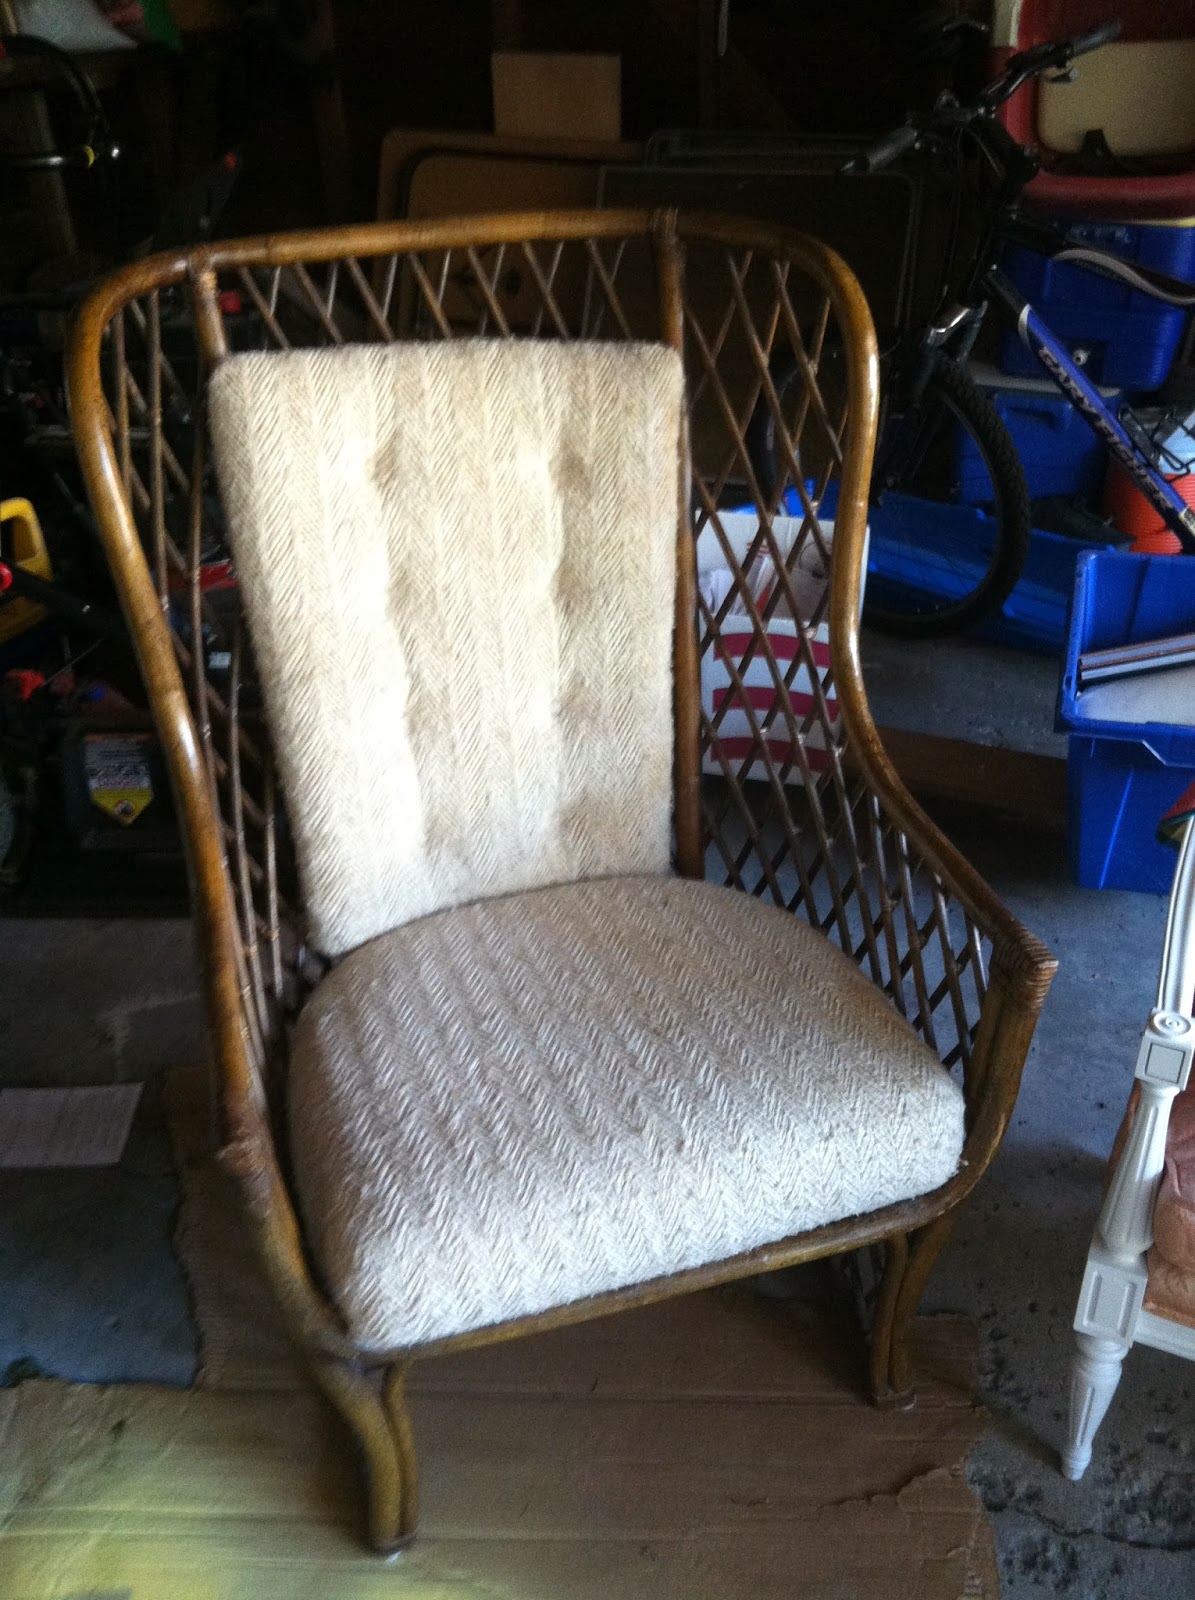
Here are a couple chairs that I found for SUPER cheap. The first was a set of six that I found at an estate sale through craigslist. I got all 6 for $25! The one pictured was in the worst shape.
This one I found at a consignment store for $20. I thought after I spiffed it up it could be a really cute prop when I'm taking children's portraits. I really like the turquoise velvet and it was in really good shape so all this one needed was a little paint.
I wish I would have taken more pictures of the entire process so you could see the "how to" but these will have to do. The painting is really a no-brainer. I used to paint furniture with brushes and oil paint. WHAT was I thinking? That was so tedious and really so unnecessary. Ever since I've discovered the magic of spray painting furniture, I've been addicted to furniture makeovers!! I have experimented with many different brands of spray paint but I have found Rustoleum Painters Touch to be by far the best. It comes in many shades and sheens and has the most ergonomically-finger-friendly (yes, I made that up!) sprayer.
Spray painting makes things quicker and easier, but its not the greenest of options, so I always make sure to paint over everything I spray with this eco-friendly lacquer. Three thin coats. I learned that trick from my idols over on the YHL blog. Love this stuff.
So, there she is after a couple coats of spray, then some hand-sanding on the edges to give it that antiquey, weathered look and a couple layers of safecoat acrylaq. Of course, I carefully covered all the fabric on the chair during the painting process with tape and paper and when I removed it all, she looked as good as new. Much more modern looking, don't you think?
As for the dining chairs, most of the seats were in pretty good shape, so I simply removed all the seats by unscrewing them from underneath, and recovered them with new fabric from
here, pulling it taut around the edges and using a staple gun to staple it onto the back. For the ones that needed some extra love, I bought some foam at JoAnn Fabrics (I had a coupon!) and cut it in the shape of the chair. Then I realized I needed some batting on top of the foam to give it that extra-cushiony feel and the rounded edge shape so back to JoAnn's I went. I also had to make sure to pull the fabric really really taut around the edges as I stapled around the back otherwise the cushion felt too loose and the edges looked to squared off.
Now, you could stop there if you wanted to, and simply put the seats back on the freshly painted chairs... It would look fine. But I much prefer the completely tailored look with the rolled edge around the seat....So I used the cord from the old seats and cut strips of my new fabric. Since I don't have a sewing machine, my mom sewed the new fabric over the cording for me.
When the cording was ready, I stapled it around the edge of the bottom of the seats and voila.
This baby came a LONG way, don't you think?
And here she is with her three sisters sitting around my
dining room table. I am pleased with the result. What do you think?
Oh...and the little velvet gal made her way into the corner of my living room for now. I'm actually envisioning an upholstered parsons chair in that spot sometime down the road....And in case you were wondering. I got that desk at a garage sale down the street from my house for $20. It was my birthday and I had taken the day off work to go to some doctor's appointments for myself and my kids. Not the best way to spend your birthday. Anyway, I was on my way to appointment numero uno when I drove past the garage sale and spotted this desk. It was calling my name. Hopped out and asked how much. $20??? Happy Birthday to me!! Of course it didn't look exactly like this. I painted it and added glass knobs, but it was seriously love at first sight.

That darling pewter camera was a Christmas gift from my brother-in-law! Isn't it sweet? Thanks, Jeff! Its from Z Gallerie. The lamp was a great find at TJ Maxx and the painting is an original by yours truly. I know, I know, its pretty amateur. I don't claim to be a painter. Its sort of a "place-holder" of sorts until I find something better to go there. I made this masterpiece during a friend's bachelorette party at one of those cool wine and painting places in Chicago.
Bottle and Botega. So fun. Wine and art. What could be better? I got the frame at a consignment shop near my house. Actually, I bought a framed painting for $10, but I bought it for the frame. It was dark wood so I just spray painted it with several coats of high gloss black.
What have you painted lately? Do you prefer spray or brushing on paint? Do you drink wine when you paint? Wine makes everything more fun, don't ya think?